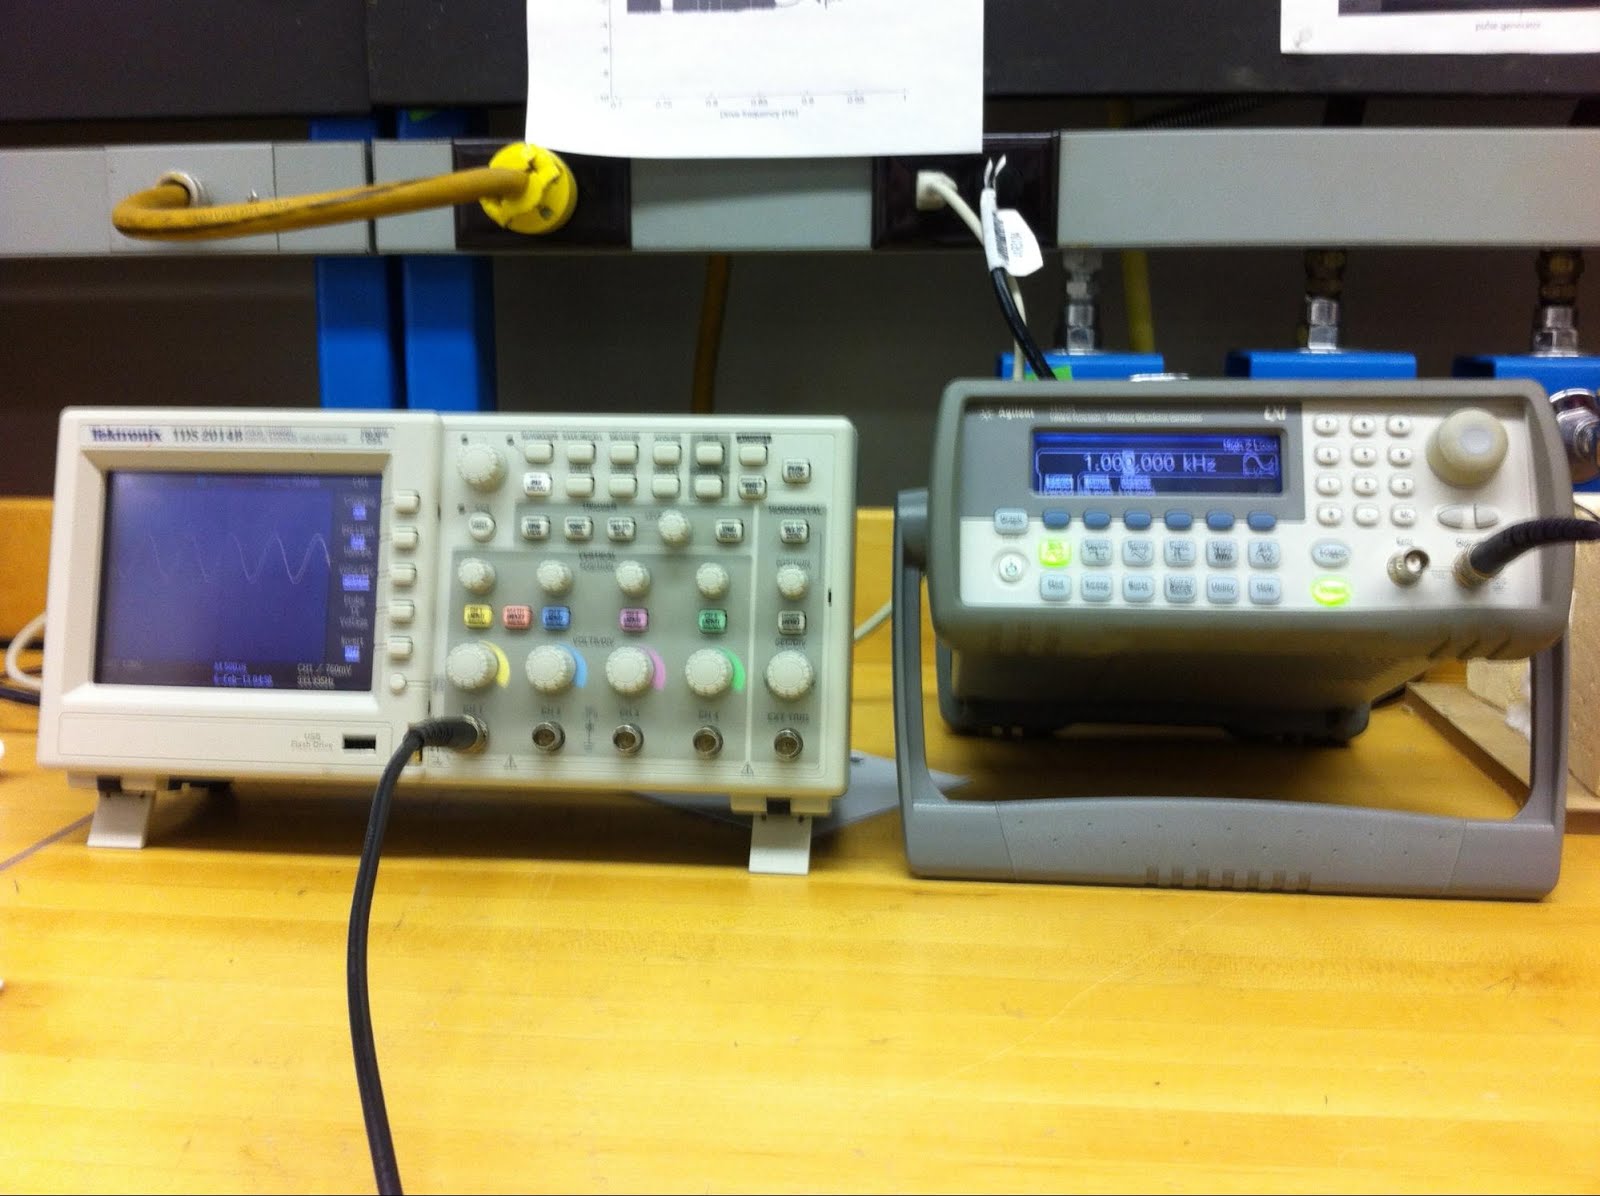
Friday, February 22, 2013

Day 5: More Capacitors

We left off with a capacitor integrator.
The next logical step is, of course, a differentiator!
Image from 310 lab manualPicture taken by HannahFollowing basically the same steps as the integrator, the only difference is that Vout is now across the resistor (instead of the capacitor).
In the following pictures, the yellow line indicates the input and the blue line indicates the differentiator output.


Note how the differentiator correctly shifts the sine wave! I think the most interesting is the ramp, as the derivative is the clearest.
Next, we discussed impedance a bit. I think it's easiest to think of as a form of resistance. When the frequency is 0, the impedance R-i/ωC approaches infinity. In contrast, when the frequency is infinity, the impedance approaches R. We also wanted to check what happens to the integrator circuit when the conditions of Vout<<Vin is violated and what happens to the differentiator circuit when 1/ωC<<R are violated. For the integrator circuit, the RC must be decreased; for the differentiator, the RC must be increased. We used a 1000 fold change to make the results very clear.The derivative of the square wave is clearly no longer correct!Then, we built a low pass filter with a 15 kΩ resistor and a 0.01 µF capacitor. This allows low frequencies through the circuit, but high frequencies are not permitted.Mathematically, we want ω3db = 1/RC, which should correspond to a Vout that is 70% of Vin. f3dB = 1/(2πRC) = 1/(2π 15 kΩ 0.01 μF) = 1.1 kHz
The ultimate test is to see if experimentally we will get ~2.1 units of Vout when Vin is 3 units.


And wow! it is 1.2 kHz

The limiting phase shift for an integrator / low pass filter is in phase for low frequencies and 90 degrees out of phase for high frequencies. We will see later that this is the opposite for differentiator / high pass filter.

In phase
Out of phase

We also wanted to look at the 6 dB/octave attenuation (fancy word for reduction) above 3dB.


2 f3dB = 2.4 kHz -> reduced from 15 V to 6.6 V
4 f3dB = 4.8 kHz -> reduced from 15 V to 3.8 V

10 f3dB = 12 kHz -> reduced from 15 V to 1.5 V
20 f3dB = 24 kHz -> reduced from 15 V to 0.8 V

And the phase changes at various frequencies are also as predicted.
f << f3dB -> in phase
f3dB -> 45 degrees out of phase 
f >> f3dB -> 90 degrees out of phase

Why 45 degrees?
f3dB = 1/(ωC) 
Vout = Vin/(1+iωRC) 
1/sqrt(2)  tan-1(1/sqrt(2)) = 45 degrees

Now onto the high pass filter! Basically the exact opposite of the low pass filter -- it uses a differentiator as the base, and permits only low frequencies. We just changed the positions of the capacitor and resistor.
f3dB is once again 1.2 kHz.


The limiting phase shift for a differentiator / high pass filter is in phase for high frequencies and 90 degrees out of phase for low frequencies, with Vin leading.  

Finally, we created a garbage detector. We wanted to measure the "garbage" in the 60 Hz AC power supply. We also did not want to die, so a transformer was used.

The setup

With a high pass filter, the high frequencies can be observed.

And as predicted, it is quite messy!

Thursday, February 14, 2013

Day 4: Transistors and Capacitors!

In this class, we will be using MOSFETs, a type of transistor. Transistors are tiny switches that are activated by a current. Passing a small amount of current through the gate of the transistor allows current to travel from the source to the drain. If no current is on the gate, the no current flows between the source and drain.

This allows us to control a circuit without actually physically flipping a switch. The current supplied by the LogoChip is adequate to turn the MOSFET on.

Image from the 310 lab manual

Picture taken by Hannah

By connecting the motor to the LogoChip as shown, we are able to turn the motor on and off with the LogoChip. Note that a separate battery is used to power the motor.

With this simple program and a light sensor, 

We can get the motor to turn on and off when the light sensor detects light

Video by Hannah

We also looked at capacitors! (I won't go over the details of how capacitors work.)

So we built a capacitance meter! We must try to charge the capacitor only for the linear portion of the charging curve. If it starts to level off, our meter will not work.

Image from 310 lab manual

We followed this circuit diagram...


Wrote this quick program... (It just waits for the capacitance to get to a certain level and then prints the time it took.)

Picture taken by Hannah
Wired it up...

And calibrated it!

A 0.1 μF capacitor and a 100 kΩ resistor corresponds with a 5 ms time. Both an oscilloscope and the PicoBlocks program agreed.

Two 0.1μF capacitors in parallel give a 20 μF capacitance. As predicted, this gives a 10 ms charge time.  

Two 0.1μF capacitors in series give a 5 μF capacitance. As predicted, this gives a 2.5 ms charge time.  

We also built an integrator.

It takes in an input voltage from the function generator and then integrates the input! It probably is better at integration than I am...

Picture taken by Hannah


Picture taken by Hannah

The yellow is the input voltage from the function generator; the blue is the output voltage from the integrator. 

The vertical lines indicate ringing. The output of the function generator (100 kHz) is too high frequency; if the capacitor is given time to discharge, the ringing will go away.

Sunday, February 10, 2013

Day 3: Oscilloscopes!

Although I've played with PicoBlocks before (as earlier posts in this blog show), I've never really spent time with the oscilloscope.

That's about to change!

All the following pictures were taken by Hannah.

First, the oscilloscope was connected to the function generator.


The function generator can generate square waves, triangular waves, and sine waves of varying frequency.


You would think that this square wave has edges that are straight up and down, right? Wrong. If you look at the rising edge closely, you would see this.


It actually takes some time for the voltage to increase! We can quantify the time with something called "risetime," the amount of time it takes to go from 10 to 90% of the wave's max amplitude. This 1 kHz wave has a risetime of 20 ns.

We also played with the oscilloscope for a bit here, to see if for some random input frequency, we could get the oscilloscope to properly display.

The function generator also has a sync out channel, which for a triangle wave would look like this.


Essentially, the sync out channel lets you synchronize measurements. It's always a square wave between 0 and 4 V no matter what your output function is. 

We could also change the output V relative to 0V with the offset function. E.g. if the wave was from 0 to 4 V, an offset of 1 V will change the output wave to between 1 to 5 V. The offset changes the DC component only.

We finished the day off by creating an AC voltage divider


The voltage divider continues to divide voltage, even though the input is alternating! The divided voltage shows the same pattern of alternation as the original input.

A final note, DC coupling will allow AC and DC signal, but AC coupling allows only AC signal.


Tuesday, February 5, 2013

Day 1 and 2: Thevenin's Good Idea

So the week began with wiring up a LogoChip on a breadboard. I followed the steps in the 310 manual rather closely, so I will not repeat the steps taken.

We can get some pretty cool things to happen!


This video shows an LED in a cycle of dimming and brightening. Because this is done by varying the duty cycle, we can observe the voltage across the LED changing as it changes brightness.

Hannah and I easily got the LED to dim when a shadow fell over a photocell, but not to light up when the shadow fell. This is because PicoBlocks has some issues getting multiple numerical operations to occur in a single variable. Our final script looks like this


And when it is run, it looks like this!

Video by Hannah Herde

This brings us to the Thevenin Model.

For any collection of batteries, resistors, and diodes, we can replace it with a single battery and resistor with the Thevenin voltage and resistance respectively. It becomes a black box -- if we draw a box around it and look at the output, we can't tell what's inside!

Then, to find the Thevenin voltage and resistance, we can turn it into a voltage divider. We must vary Rload from 0 Ohm (a simple wire) to 47 Ohm.

With 0 Ohm Rload, Vout = Vth

With 47 Ohm Rload, using the equation Rth = Rload * Vth / Vout - Rload, we can calculate Rth.

Image from the 310 Electronics manual


Black Box Vth Vout Rload Relation of Rload to Rth Rth
Battery Pack 4.3V4.3V 47 Ohm Rload >> Rth ~0 Ohm
LocoChip Output Pin 4.2V 1.6V 47 Ohm Rload > Rth, same order 76 Ohm
Stalled Motor 4.2V 1.3 V 47 Ohm Rload > Rth, same order 105 Ohm


Sunday, December 19, 2010

THE DAY OF

                                        
The final view of the pokemon arena! In action, here under Pokemon, are several videos.

Several modifications we made: we created a "shield" around the liquid nitrogen to prevent splashes. This limited the amount of smoke, but in the interest of safety, was very useful. The control box did not have foam over it, as described earlier, but just the lego box and the pennies visible.

Horrifyingly, plugging in the picoboard to the computer caused the resistances to change. We could not get the physical aspects of the pokemon to work while the computer game was running.

However, this may have been a blessing in disguise. Most of the children didn't know what pokemon was! So the battle would have confused them further. All the special effects alone was really a better idea.

The final count of special effects!
Charizard:
Smokescreen: Water pours into liquid nitrogen, creating smoke
Flamethrower: Water pours into liquid nitrogen, creating smoke. Flame in mouth wiggles back and forth
Slash: Arm moves back and forth
Earthquake: Entire arena shakes! Rumbly noises happen.

Electrode:
Thunderbolt: Lights along the side of the arena light up!
Magnet rise: String connecting Electrode to the beam on top grows shorter, so Electrode rises
Explosion: Lights along the side of the arena light up. Entire arena shakes. Lights inside Electrode light up
Mirror coat: Lights inside Electrode light up

Day 23 and 24: Bringing it all together


The program in Scratch, to emulate the actual Pokemon game (complete with HP!) has an image that looks like the Gen II games.

This is the frame of Electrode! Wrapping it in tissue paper is still what we're planning on...

The red wires are the lights! I soldered four red light emitting diodes together, so we don't have to have individual lights on single picocricket wires. Now one picocricket socket lights up four lights!

Similarly, there are another set of four lights soldered together along the arena. Those are yellow.

Instead of our original idea of hanging the arena, we're now going to balance it on some boxes, and have this mechanism to bounce the arena up and down. As per Prof Berg's suggestions, I added another layer of legos on top so that the bouncing motion is more up and down.


Charizard has been assembled! This is the interior of its mouth, with the flame moving back and forth.


A couple views of the inside of its body. This is the arm moving mechanism.... It finally works! The original rubber band (to pull the arm towards the center of its body when the cam wasn't pushing it up) was too weak, and the other rubber band was too strong, so we used two rubber bands instead! Now it finally works, though opening the body tends to derange  the mechanism. Yes, it is duct taped to the side of the body >>
                                            
This mechanism pulls up the Electrode! A rather simple idea, and it worked on the first try! Yay.

Notice the beam holding the mechanism up. It's a bunch of legos pegged together, and used to be the frame of Electrode. It was reused! The beam is held up by a ring stand, so we don't have to worry about it falling over... Though the weight of Electrode makes the beam bend a little.

                                         
A final view of the water pouring device. It pours water fine!

Several other issues without pictures:
I soldered some pennies onto the wires for the control box. Now, instead of touching the pointer to a wire, you touch the penny instead. It didn't change any of the resistance values

Charizard's arm was too large for the mechanism to move, so we downsized. Instead of the laser cut piece being the center of the arm and then being held onto a lego piece via a screw and nuts, we used only lego pieces as its center. 

Wednesday, December 1, 2010

Day 21 and 22: the rebuilding of motion modules and the beginnings of Charizard...


Instead of the confetti for a flame, Charizard is now supposed to stick out a flame. However, the original motion for that is extremely difficult to expand, as I discovered. Prof Berg suggested this motion module instead, because it can be easily expanded to reach further. Yay!

Picocricket program is now 100% functional! All computer aspects are completely done. The programs are rather long though, so I will not post them

We've begun to build Electrode and Charizard... Through many, many trials.

Our electrode seems to be faring well with wire wrapped around a frame. Luckily, spheres are decently trivial to create. Illustrator easily creates circles, so the frame was simple. (This process actually involved a great deal more confusion than this implies. Hot glue was necessary.)

Charizard is not faring as well. After many attempts at frames for the body, we've given up. Charizard now has a box for a body. Its head is completely laser cut and hot glued together... And then we realized that the motion for the flame actually curves out in an arc instead of straight! After many trials, we settled for the sweeping motion, because of lack of other options.